You can import 3D models in OBJ, GLB, or GLTF format into After Effects. Several applications can create these formats, including Adobe Substance 3D and Adobe Illustrator.
When you import a 3D model into a project, After Effects creates a new folder with the model’s name. If the file has dependent files (such as texture image files), they are included in the folder with the model file itself.
When you prepare a model in another application, specify PNG or JPEG formats for included texture files for the best results in After Effects.
If you’re working with imported 3D models, it’s a good idea to work in Draft 3D mode to access the ground plane and to see accurate previews quickly.
Creating 3D text
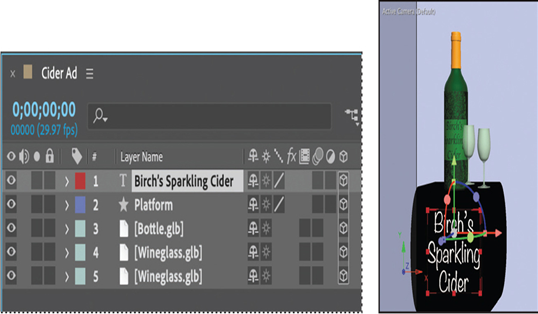
The company name should appear on the platform. You’ll create 3D text to make it appear that the name is mounted to the front of the platform.
- Select the Horizontal Type tool (
) in the Tools panel.
- Click an insertion point in the Composition panel, and type Birch’s Sparkling Cider, pressing Enter or Return after each word to create three lines.
- Select the text you just typed in the Composition panel. Then, in the Text section of the Properties panel, select the following settings:
Note
If a script font is not available, install one using Adobe Fonts. Choose File > Add Fonts From Adobe, select Script from the Classification filters, and activate the font. You may need to close the Properties panel and reopen it to see a newly activated font.
• Font: Noteworthy Light or another script font
• Stroke: None
• Font Size: 72 px
• Fill Color: White
- In the Paragraph section of the Properties panel, select Center Text.

- In the Timeline panel, select the 3D Layer switch ( ) for the Birch’s Sparkling Cider layer.
Geometry Options and Material Options are now available for the layer, just as they are for the 3D shape layer you created earlier. Likewise, three Rotation properties and an Orientation property appear in the Transform properties for the layer.
Tip
When a 2D layer is between 3D layers in the Timeline panel, you create separate 3D bins. Layers in one 3D bin render and interact separately from layers in another 3D bin. Bins are indicated by dotted lines around the included layers’ 3D switches in the Timeline panel.
- In the Timeline panel, expand the Geometry Options for the Birch’s Sparkling Cider layer.
- Change the Extrusion Depth to 27.
- Choose Convex from the Bevel Style menu, and make sure the Bevel Depth is 2.0.
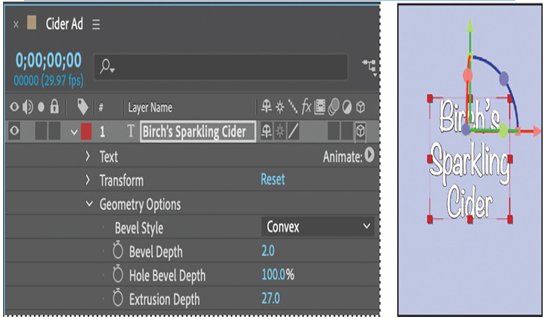
The text is three-dimensional, ready to position.
- Move the Birch’s Sparkling Cider layer to the top of the layer stack if it isn’t already there.
- Select the Selection tool. Then, use the 3D Transform Gizmo to move the text to the front of the platform.
- Hide properties for all layers, and save your work.