When you create a 3D layer, the camera tools become available in the Tools panel. You can use the camera tools to change the perspective on the scene and to manipulate existing cameras.
Note
Because the camera tools change the perspective, they work only in custom views, not in fixed views, such as Front or Top.
• The Orbit tools ( ) orbit around the cursor, scene, or camera point of interest.
• The Pan tools ( ) pan the camera under the cursor or in the center of the screen.
• The Dolly controls ( ) move the camera toward the cursor, to the cursor, or to the point of interest.
You’ll experiment with each tool to see how it changes your perspective.
- Select the Orbit Around Cursor tool (
) in the Tools panel.
- Drag the Orbit Around Cursor tool across the Custom View 1 window to change the angle from which you’re viewing the scene.
- Select the Pan Under Cursor tool (
), and drag it across the Custom View 1 window to see its effect.
- Select the Dolly Towards Cursor tool (
), and drag it around the Custom View 1 window to see its effect.
As you use the camera tools, the view in each of the other windows is unchanged. The layers themselves haven’t moved at all; only your perspective of them has changed. It’s as if you were able to fly around the stage and view the scene from different angles.
- Use the camera tools to verify the position of the objects on the platform.
- Select 1 View from the Select View Layout menu.
- Use the Orbit Around Cursor tool to see the scene from all angles.
- If you notice any issues with any of the objects, make adjustments while you’re viewing the angle that revealed the issue. Use the Selection tool and the 3D Transform Gizmo to adjust the bottle, wineglasses, or text. The bottle and glasses should be on the platform, not descending into it or hovering above it. The text should be in front of the platform, with its extrusion apparent.

- After you’ve made your changes, choose View > Reset Default Camera to return the camera to the original view.

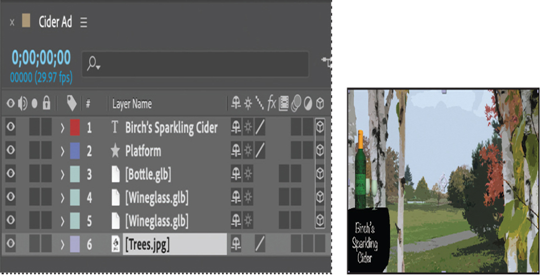
Adding a background
The light blue background isn’t very interesting. You’ll add a stylized image of birch trees to complement the company name.
- Double-click an empty area in the Project panel to open the Import File dialog box again. Select the Trees.jpg file in the Assets folder, and click Import or Open.
- Drag the Trees.jpg file to the Timeline panel, placing it at the bottom of the layer stack.